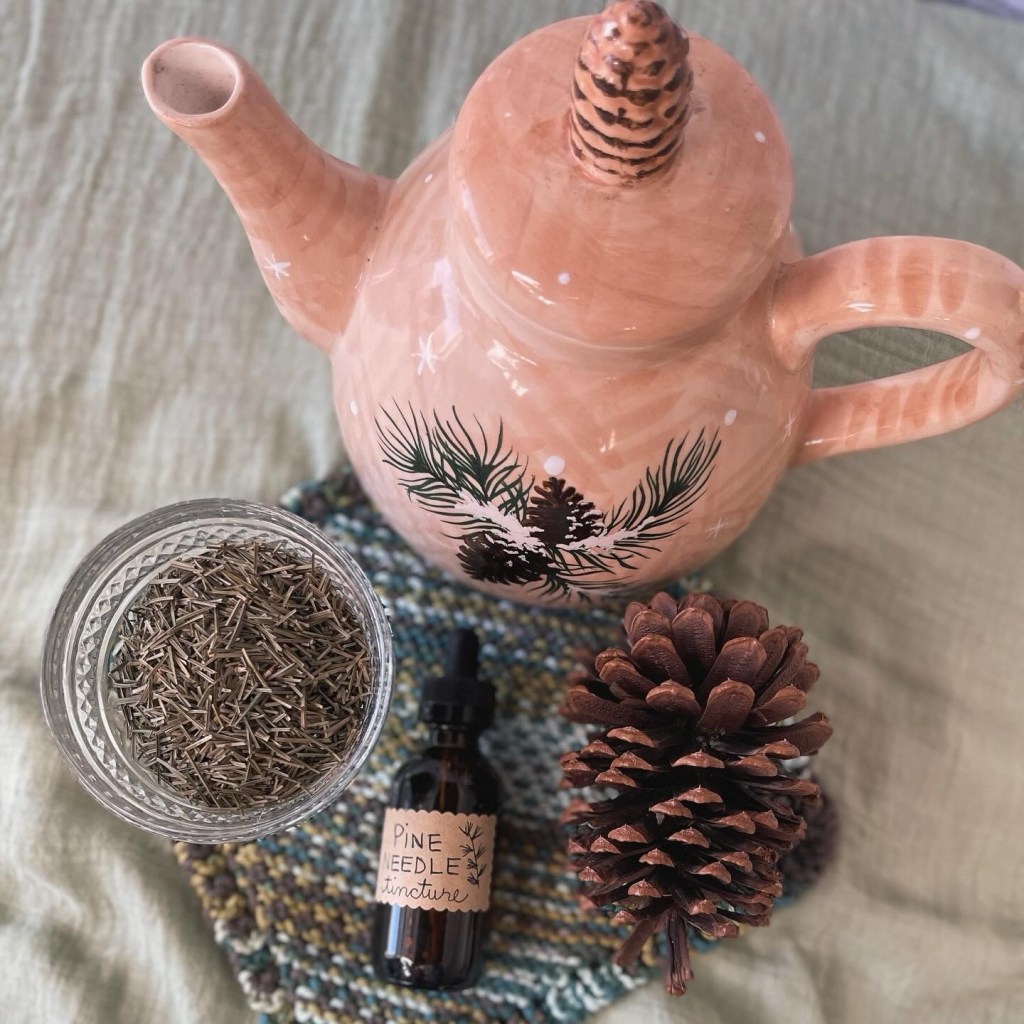
A tincture is a simple and powerful way to experience an herb’s benefits and energies. I’ve brewed up a batch of pine needle tincture to enjoy the taste and effects this winter season!
Pine has so many benefits to body and mind. Medicinally, it can help aid the immune system with its high vitamin C content and antimicrobial qualities, it can help with pain and inflammation, and it can offer relief to colds and coughs. Energetically, pine is said to encourage peace, harmony, wisdom, intuition, grounding, and courage.
Here is the simple recipe for making your own pine tincture!
To make a pine tincture, fill a clean glass jar about ¾ full with dried pine needles (make sure you’ve sourced from a safe-to-consume species!) and top with high-proof alcohol such as vodka, filling to about an inch over the plant material. Stir with a wooden spoon or chopstick, and cap tightly with a bpa-free plastic lid. Store in a cool, dark place and shake daily for about 4-6 weeks. Strain and rebottle in a clean jar / dropper jars.
This can be taken medicinally by drops or dropperful in water or under the tongue…but it can also be enjoyed by the dropperful as an addition to tea or juice—or even used as fancy bitters in cocktails and mocktails! (I am envisioning it as a very cool wintry addition to an Irish whisky with gin & lime!) You can also mix a bit with a carrier oil and use it externally for minor pains and inflammation.
For educational purposes only. Not intended for medical advice. Always consult your physician.
*This post contains affiliate links, which means if you choose to buy something from a link that I share, I will make a small percentage of the sale *at no extra cost to you*.
This article appears in the Winter 2022 edition of Botanical Anthology. You can purchase a digital copy HERE or a print copy HERE.
Along with the joys winter brings, it unfortunately also carries increased risk of illness in its wake. Between extra time spent indoors during colder weather and the season’s gatherings and festivities, exposure to many types of illnesses sees a dramatic uptick. To that end, immune support becomes a constant refrain.
Herbal allies can be indispensable when it comes to this winter barrage of germs. But what does “herbal immune boosting” mean? It is a many-pronged approach to keeping your body functioning optimally so that you might avoid some illnesses altogether, or at least lessen their severity. Different types of herbs work together synergistically to aid with this never-ending task.
Adaptogens Fatigue, burnout, and chronic stress are common problems that weaken the immune system and its ability to fend off illness. Adaptogenic herbs help restore balance and protect the body’s systems and processes to counter these effects, the immune system being an important beneficiary. Tulsi, astragalus, reishi and chaga mushrooms and licorice root are just a few examples of adaptogens.
Nervines Stress and insomnia deplete the body and create the perfect breeding ground for germs. Luckily, nervine herbs help combat both of these issues, and many are gentle and safe for everyday use for most individuals. As an added bonus, some nervines have antimicrobial properties, too. Gentle nervine herbs include chamomile, lavender, lemon balm, tulsi, rosemary, linden, hawthorn, and passionflower.
Diaphoretics Diaphoretic herbs are warming and promote circulation. Once sick, these herbs go on to help sweat out a fever and offer respiratory relief. These include yarrow, elderflower and berry, chamomile, ginger, catnip, cayenne, garlic, and linden.
Aromatics Aromatic herbs don’t just taste great—they provide important immune boosting actions, too. Most aid digestion, while also offering strong antimicrobial support. These germ-killers include ginger, cardamom, cinnamon, cloves, anise, allspice, rosemary, and fennel.
Antioxidants Antioxidants like vitamin C aid immunity by supporting and stimulating antimicrobial actions on a cellular level as well as protecting body tissues from damage. Antioxidant herbs that provide much-needed immune boosting include rooibos, rose hips, hibiscus, elderberry, orange peel, and raspberry leaves.
Alteratives Alterative herbs aid in detoxifying your body by supporting the organs and systems that handle this important task. You need your liver, kidneys, and lymphatic system in tip-top shape to fight off illness! This category of herbs includes echinacea, calendula, dandelion root, burdock root, and nettles.
There are countless combinations one can work with to create an immune-boosting herbal recipe. To make things a little less daunting, here is a simple tea as a starting point. It features elderberry, a tried-and- true immunity aid, but also rooibos, an oft-overlooked antioxidant powerhouse. There is a bit here from each of the above categories, and plenty to tempt the taste buds, as well.
Blend this combination of herbs as the recipe states, or use it as a jumping-off point to inspire your own immune supporting formulation!
Method Mix all ingredients except orange in a bowl. Transfer to an airtight container.
To make a single cup of tea, add 1 tablespoon to a tea strainer, eco-friendly tea bag, or French press. Pour about 1 1⁄2 cups hot water over the tea and steep for 5 to 10 minutes. Add fresh orange zest or orange slice and honey to taste, if desired.
Notes This recipe yields approximately 10 servings of tea. If making a small batch, measure the parts in teaspoons—it should yield about 2 servings of tea.
For educational purposes only. Not intended for medical advice. Always consult your physician.
*This post contains affiliate links, which means if you choose to buy something from a link that I share, I will make a small percentage of the sale *at no extra cost to you*.
DIY botanical hand soap is incredibly simple to make and can bring lovely, refreshing scent, moisturizing properties, and natural ingredients to the sinks in your home. It also makes a nice house-warming or holiday gift!
It is something extra special to concoct your own personalized soap from some of your favorite natural ingredients. You can capture the season, cozy vibes, and your favorite scents all in something you use many times a day! And the process of very easy and fun! My eight-year-old daughter especially enjoys creating this hand soap with me.
Simply combine castile soap, water, herb-infused oil (such as coconut, jojoba, sweet almond, or olive oil), and essential oils (these are optional but help add a stronger scent). You can also add ingredients like vegetable glycerine and/or aloe vera for extra moisturization, and vitamin E oil to extend the shelf life.
For this particular batch of hand soap, I invoked an autumnal energy by including rose-infused jojoba oil, orange essential oil, frankincense essential oil, cinnamon sticks, star anise, dried orange, and a few cloves. The dried botanicals and spices are added for accent and visual appeal, and they are hard enough so they won’t break down too much in the soap mixture to interfere with the soap. If you’d like, envision a warming and cozy intention while adding these to this soap your family and friends will use in your home.
Starting with a clean jar, add 1 cup water. Add 1/2 cup castille soap and all other ingredients. Replace lid and carefully swirl vigorously to mix. If the jar looks too empty, top up with a bit more water and castille soap.
The mixture will be a bit foamy at the top, and will be thin but luxuriously moisturizing for the skin.
Note: you may need to give it a swirl once in a while as the ingredients can separate while it sits and settles. Also, if very young children or anyone with skin sensitivities will be using the soap, you can omit the essential oils.
Would you make DIY hand soap? Which ingredients or scents would you use in yours?
For educational purposes only. Not intended for medical advice. Always consult your physician.
*This post contains affiliate links, which means if you choose to buy something from a link that I share, I will make a small percentage of the sale *at no extra cost to you*.
This time of year, the quest for protection from illness lines right up nicely with the folk idea of protection from negative energy, unfriendly spirits, and the like. Whether you are seeking one, the other, or both forms of protection, there is a simple and cozy way to invoke that sentiment, freshen your house, and refresh the energies of your home: herbal carpet powder!
Did you know that strewing herbs on the floor goes way, way back? From the ancient Romans to the Middle Ages, and even up to about the 18th century herbs were strewn over the floor with rushes and straw to release a pleasant aroma and repel unwanted pests. Some households swept them up each day and replaced them with fresh herbs, while others left them for a longer interval. Rosemary, lavender, chamomile, hyssop, sage, and marjoram were among the many herbs commonly used for this purpose. Modern carpet / vacuum powders aren’t left on the floor for very long—you let them sit for 15-30 minutes before vacuuming back up—but they certainly hearken back to this practice.
While you can easily buy ready-made carpet powders at the grocery store, it is incredibly easy and fun to make your own and stir a bit of intention and personalization into the mix. If you have pets and small children, it would be best to leave out any essential oils or only use the gentlest ones you’re already used to using around your small people and creatures. Otherwise, you can experiment and create your own blend that combines the scents and intentions you prefer!
For this recipe, I’ve used rosemary for protection and remembrance (for the upcoming sabbat of Samhain); allspice and cinnamon for prosperity, luck, and healing; and orange for lovely, cozy, and uplifting vibes. And all these ingredients have antibacterial and antimicrobial properties!
Mix ingredients well in a bowl and transfer to a glass jar. I used an empty Himalayan pink salt shaker jar because of the convenient shaker lid! Sprinkle on your carpet (and even wood or tile floors if you like), allow to sit for 15-30 minutes, and then vacuum up thoroughly. You can also sprinkle a bit of this powder around doorways and windowsills to repel insects (and maybe more? 👻).
For educational purposes only. Not intended for medical advice. Always consult your physician.
*This post contains affiliate links, which means if you choose to buy something from a link that I share, I will make a small percentage of the sale *at no extra cost to you*.
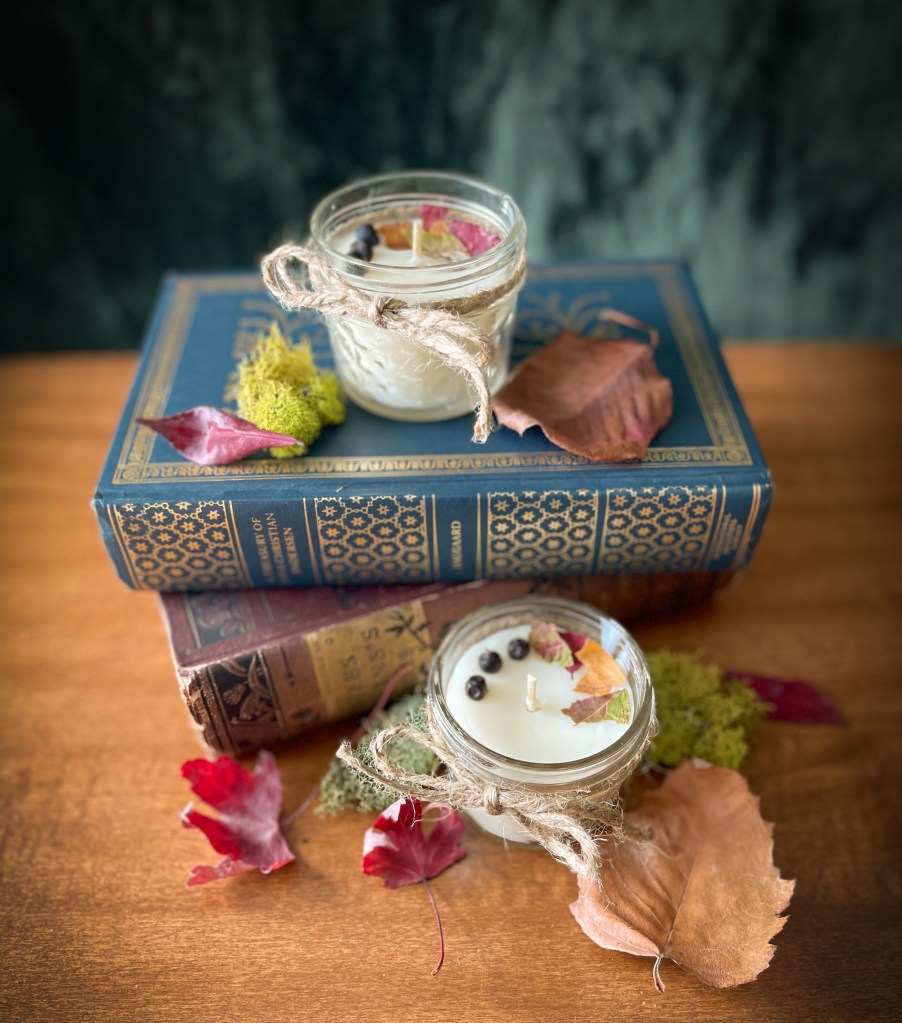
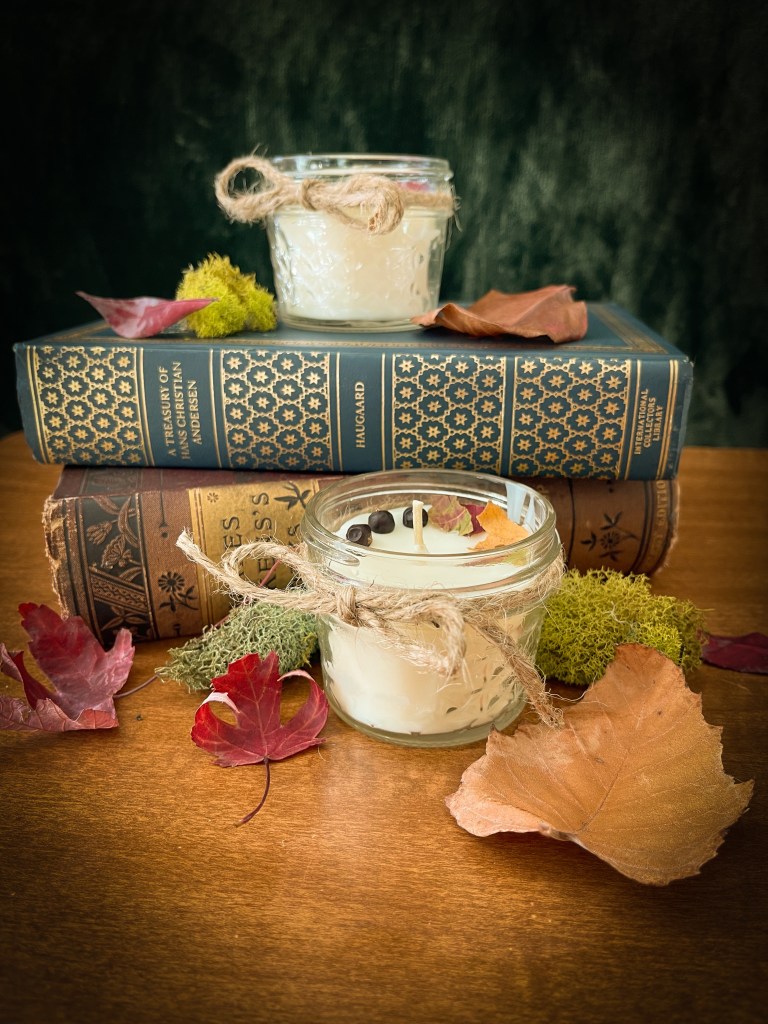
It has been so very dry where I live lately…but today, we finally got some much-needed autumn rain! It was the perfect time to pull out this AutumnRaincandle and light it to add to the cozy vibes of the day.
For these candles, I combined beeswax, a bit of coconutoil, and essentialoils for a natural scent option. (Make sure you do your due diligence in choosing ethical essential oil companies to buy from).
The essential oils I used to emulate the scent of autumn rain (after some experimentation) are ylangylang, juniper, cypress, grapefruit, and frankincense. To me, this combination evokes the sweet, earthy, and green scent of rain on autumn leaves. That fragrance is a very special sort of magic, isn’t it?!
Here is how I made the candles, if you want to try making your own!
(I recommend combining your essential oils beforehand in a glass eo jar to let the scents mix and do their thing before making the candles!)
Method:
Prepare your area; wax will be dribbled! Protect your work surface if you prefer.
Melt the beeswax pellets and coconut oil in the double boiler (can also be microwaved). While they melt, prepare candle jars with wicks, using positioners or popsicle sticks.
Once the wax is melted, remove from heat and carefully add and stir in essential oils. They will not mix or dissolve completely, but will disperse well enough with mixing.
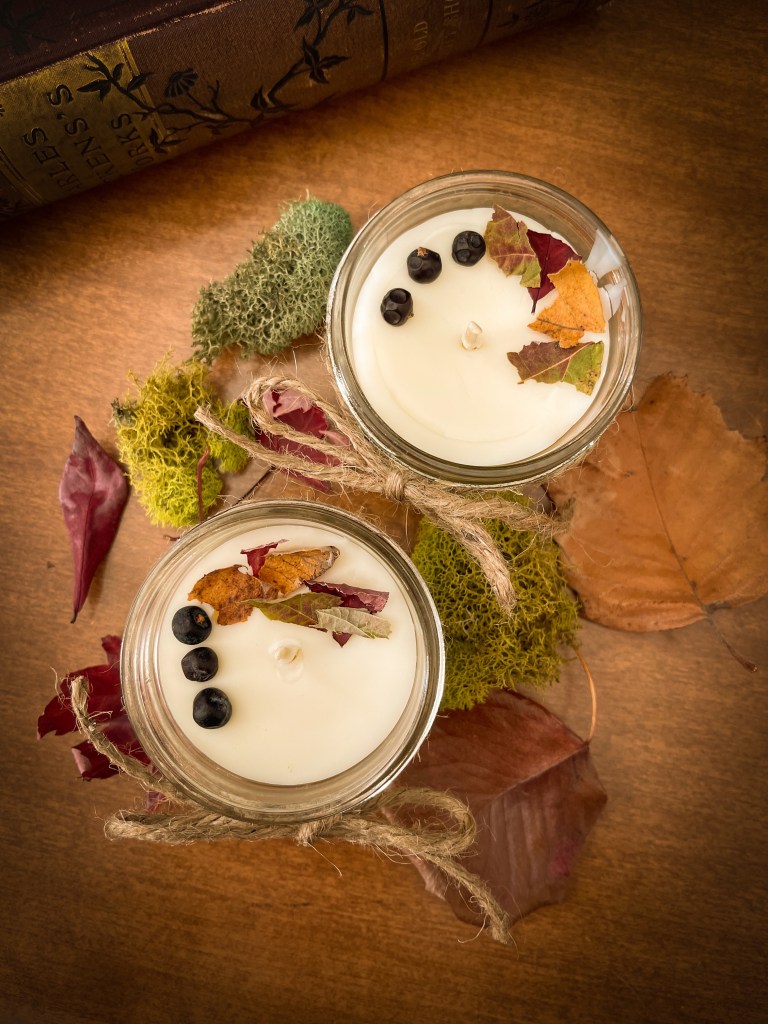
Carefully pour hot wax into jars. Allow wax to cool and set nearly completely before topping with optional adornments. (I used juniper berries and autumn leaves!)
((A trick to avoid wick tunneling: pour the candle wax about half to three-quarters full and allow to cool a bit (you might put them in the fridge to speed up the process). Using a toothpick, poke three or four deep holes into the mostly-set wax and then pour the rest of the hot wax on top. This helps the wax to settle flat and not tunnel around the wick, for some reason!))
Trim wicks and allow candles to cure for a minimum of 24-48 hours before burning. (Longer is better!)
For educational purposes only. Not intended for medical advice. Always consult your physician.
*This post contains affiliate links, which means if you choose to buy something from a link that I share, I will make a small percentage of the sale *at no extra cost to you*.
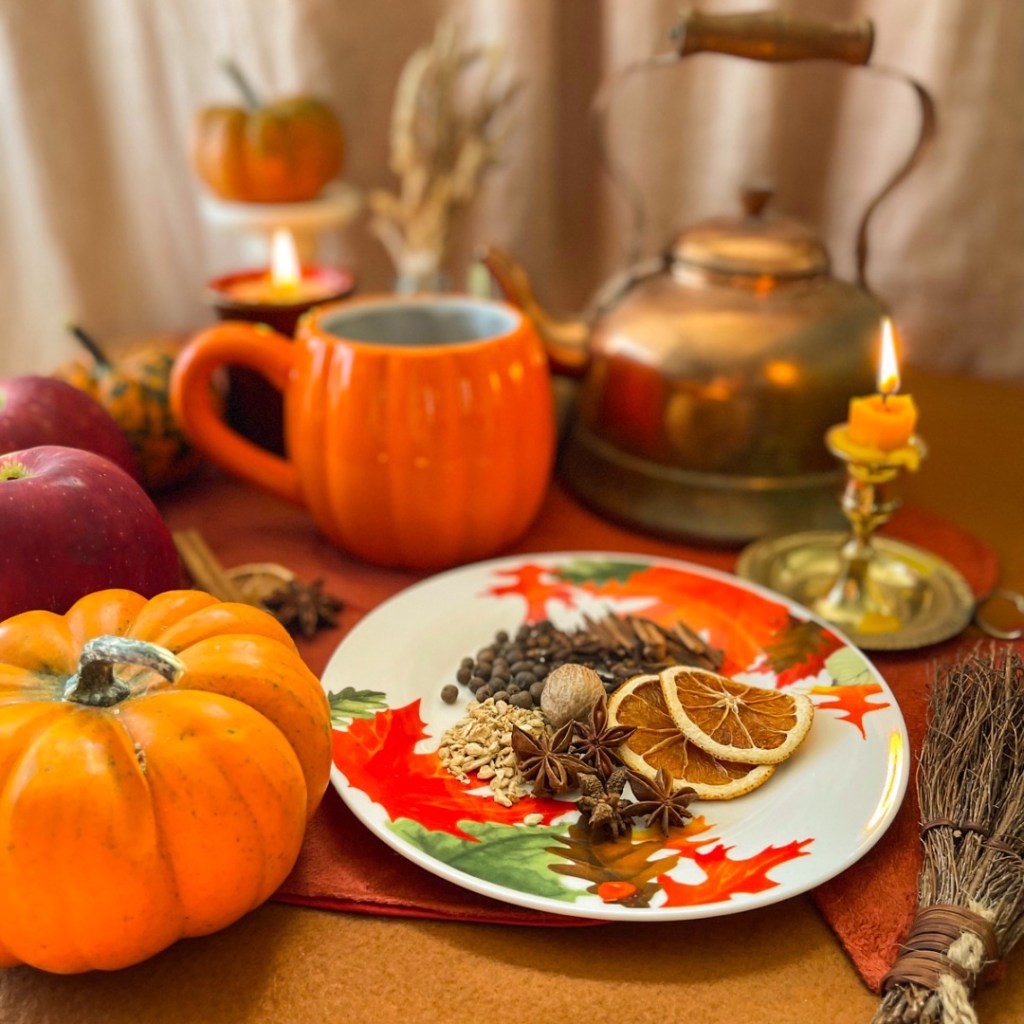
Mabon is almost here! Otherwise known as the Autumn Equinox, this sabbat marks the official beginning of fall, the second harvest festival, one of the two points in the year when day and night are equal, the height of preparations for the dark part of the year, and a day of thanksgiving and gratitude.
Depending on the year, my birthday falls right before or sometimes on Mabon (9/21), so it always feels *extra* special to me. I can always be counted on to make a bit of a fuss to celebrate the equinox! I suppose I may love fall so much because I’m a Mabon baby, but I think this most cozy, crisp, and magical time of the year would be my favorite regardless of my birthday.
My favorite flavor of autumn is…no, not pumpkin spice…but apple! And spiced apple, which is nearly the same as pumpkin spice, but with a different vehicle. I love pumpkin, don’t get me wrong—but apple will always be the flavor of September to me. So I am brewing up a simple and delicious batch of spiced apple cider for my family to enjoy this Mabon weekend.
In this recipe, apples are combined with vitamin C rich oranges and beneficial, warming, digestion-promoting, immune-boosting spices. This drink offers a cozy, warming, festive sip with many benefits!
Here is the recipe:
Materials—
½ to 1 gallon of fresh apple cider
2-3 apples, sliced
1-2 oranges, sliced
1 small to medium knob of fresh ginger, sliced, or 2 tsp dried ginger
To make a hot spiced cider, fill a large stock pot or slow cooker with the fresh apple cider, sliced apples and oranges, sliced ginger if using fresh, and cinnamon sticks. Place the rest of the spices in a cheesecloth bag or large eco friendly paper tea bag and add to the pot. Heat over low heat, stirring occasionally, and serve warm.
If the autumn equinox is still quite warm where you live, you can make this as a cold drink instead! Place all the ingredients in a pitcher in the refrigerator overnight. Try mixing it with sparkling apple cider, ginger beer, ginger ale, or Prosecco for a fizzy twist!
What are you doing to mark Mabon / the autumn solstice this year?
For educational purposes only. Not intended for medical advice. Always consult your physician.
*This post contains affiliate links, which means if you choose to buy something from a link that I share, I will make a small percentage of the sale *at no extra cost to you*.
I decided to whip up an adorably tiny roller bottle of September-inspired perfume oil recently! I love teeny roller bottles because I can make a small amount to test out the scent combination, and I don’t have to worry about making too much if it’s something I’m only going to use for a short period because it’s intention is geared to a specific occasion or month.
The basis of this essential oil blend is Ho wood and benzoin, which are creamy, vanilla-esque scents that I find very cozy. Combined with these are notes that are spicy, woodsy, sweet, and a hint of floral. To me, this combination evokes early autumn: the sweet and creamy scents are rich, yet sunny and light, and the spice is subtle enough to hint at autumn without being too heavy.
If you have sensitive skin, you probably ought to cut back on the EOs when making this recipe, and you can leave out the cinnamon and cardamom if they might be irritating. (The cinnamon chips included will gradually infuse in the base oil anyway!)
And, as always, be sure to source and use essential oils responsibly and from reputable, sustainable sources. (Not an ad and not sponsored at all, but I get most of my essential oils from Mountain Rose Herbs and Simply Earth.)
Materials:
5 ml roller bottle
Dropper
Carrier oil of choice (I like olive oil even though it’s a bit unorthodox—I used calendula-infused olive oil to make it extra special!)
Cinnamon stick chips
Essential oils, in drops:
3 Ho wood
3 benzoin
2 cypress
2 sweet orange
1 geranium
1 cinnamon
1 cardamom
Method:
Add a few pieces of cinnamon stick chips. Fill the bottle about halfway with carrier oil using a dropper. Carefully add the essential oil drops, then top with more carrier oil—make sure to leave room to insert the roller ball top. Add the roller and cap tightly, shake to mix well, and let it sit a day or two before using.
I am so excited that September is mushroom month at the Plant Wonder Collective! I love all things mushroom for culinary, medicinal, craft, and folklore purposes. I can’t wait to share the mushroom love this month!
The medicinal and therapeutic qualities of mushrooms have become much more widely known and embraced in the mainstream, and that has led to lots of commercially available mushroom coffee blends and coffee alternatives. Which is great! But they can be quite costly. So today I am sharing a simple and cost-effective diy option if you’d like to try making your own mushroom coffee at home.
((I will note, if your aim is primarily to get the medicinal benefits, you might not get the most out of your woody mushrooms by brewing them in a simple infusion or decoction. (In the summer Botanical Anthology, Susan Ilka Tuttle shared a great article on how to make a reishi double decoction to extract all the beneficial constituents.) But there are definitely water-soluble constituents you can benefit from if coffee is the most accessible & preferable method for you.))
This coffee-alternative blend uses reishi mushrooms, coral tooth mushrooms, roasted dandelion root, roasted chicory root, and cinnamon chips. You could easily modify the recipe with your own favorite hearty spices like cloves and allspice. Or combine it with actual coffee! (This is my preference usually.)
The idea of mushroom coffee sounds quite odd and even off-putting to some, but it tastes nothing like the mushrooms on your pizza! It tastes bitter, earthy, and pungent, but in a way that is reminiscent of traditional coffee—especially when combined with coffee itself or roasted roots that are often used in place of coffee.
Before we get into the recipe, let’s take a quick look at the benefits of the two mushrooms we’re using—
Reishi
Reishi mushroom has long been associated with longevity. It can aid the liver, help with blood pressure and cholesterol, boost the immune system, reduce inflammation, help you relax, and much more. Reishi has been pretty well-studied and the results are so promising!
Coral Tooth
Coral tooth is very closely related to lion’s mane mushroom, and is used interchangeably with it. It may help boost the immune system, modulate inflammation, relieve allergies and eczema, reduce anxiety symptoms, and more.
Mushroom Herbal Coffee Blend
Ingredientsper about two cups
1 tsp dried mushrooms of choice (reishi and coral tooth in this case), broken into small pieces or crushed with mortar and pestle
1 tsp roasted dandelion root
1 tsp roasted chicory root
1 tsp cinnamon stick chips
1/2 tsp cloves
Method
Add ingredients plus about three cups water (adjust according to your coffee strength preferences) to a saucepan and simmer over low-medium heat for anywhere from 20 to 40 minutes, strain, and serve how you take your coffee.
Or—
You can also grind the blend in a coffee grinder to a rough grind and brew in a French press or drip coffee maker. Not as many medicinal constituents will extract from the mushrooms, but you’ll still get some benefits and enjoy the earthy taste.
Alternatively, you can mix this blend to your preferred ratio with traditional ground coffee and brew as usual.
One more note:
Take care when foraging or purchasing medicinal mushrooms and make sure you are absolutely certain of the species before consuming! Also be sure to forage ethically or purchase mushrooms that were sourced ethically. My reishi and coral tooth were ethically foraged by my brother and his partner and gifted to me!
Have you ever tried mushroom coffee? Are you interested or curious to try it?
It may not be pumpkin spice time yet (Says who? It’s always pumpkin spice time to me!) but apples are ripening and it’s a great time to whip up some apple crisp. I am gathering with friends this evening, so I made a chai apple crisp that is gluten-free for one of my friends’ dietary needs.
You can’t fault me for rushing Autumn if I’m using chai spices! And anyway, there are so many benefits to chai spices. Medicinally they’re immunity boosting, digestion aiding, circulation stimulating, and so much more—check out THIS blog post for more on that. Chai spices also help soothe, relax, and even help with sleep. And symbolically / spiritually, many of these warming spices are said to bring prosperity, protection, joy, and divinatory insight. Plus, they’re just cozy and tasty! Perfect for a gathering with friends paired with tart Granny Smith apples.
Here is the recipe!
Gluten-Free Chai Apple Crisp—
Ingredients
For the filling—
8-10 Granny Smith apples, peeled, cored, and sliced or chopped
2 Tbsp gluten-free flour blend
2 Tbsp sugar
1 tsp pumpkin spice mix (cinnamon, nutmeg, ginger, and cloves) or ¼ tsp of each
1/4 – 1/2 tsp allspice
1/2 tsp cardamom powder
1 tsp vanilla extract
For the crumble—
1 cup gluten-free old-fashioned oats
1/2 cup gluten-free flour blend
1/8 tsp salt
1 cup dark brown sugar
1/2 tsp pumpkin spice
1/8 tsp allspice
1/4 tsp cardamom
1 stick of butter of choice, cold, cubed
Method
Preheat oven to 375° F. Grease a 9 x 13 glass baking dish and set aside.
Prepare apples and put in a large mixing bowl. Sprinkle with sugar, flour, and spices and stir to coat; add vanilla extract and stir again. Scoop this mixture into your greased baking dish.
In the same mixing bowl if you’d like, mix the oats, flour, spices, and salt well. (If you’d like to ease back on the spices, omit them from the crumble.) Add the brown sugar and butter and cut in with a pastry blender or fork until pebbly consistency is reached. Sprinkle over the apple filling evenly.
Bake 30 to 35 minutes; cool before serving.
Notes
Serves 6-8
Substitute in your favorite chai spices and play around with the amounts to your preference!
Would also be amazing with walnuts in the crumble topping.
This recipe could easily be adapted to be non gluten free with conventional flour.
Are you a big fan of apple crisp? And do you think August is too soon for it? Let me know in the comments!
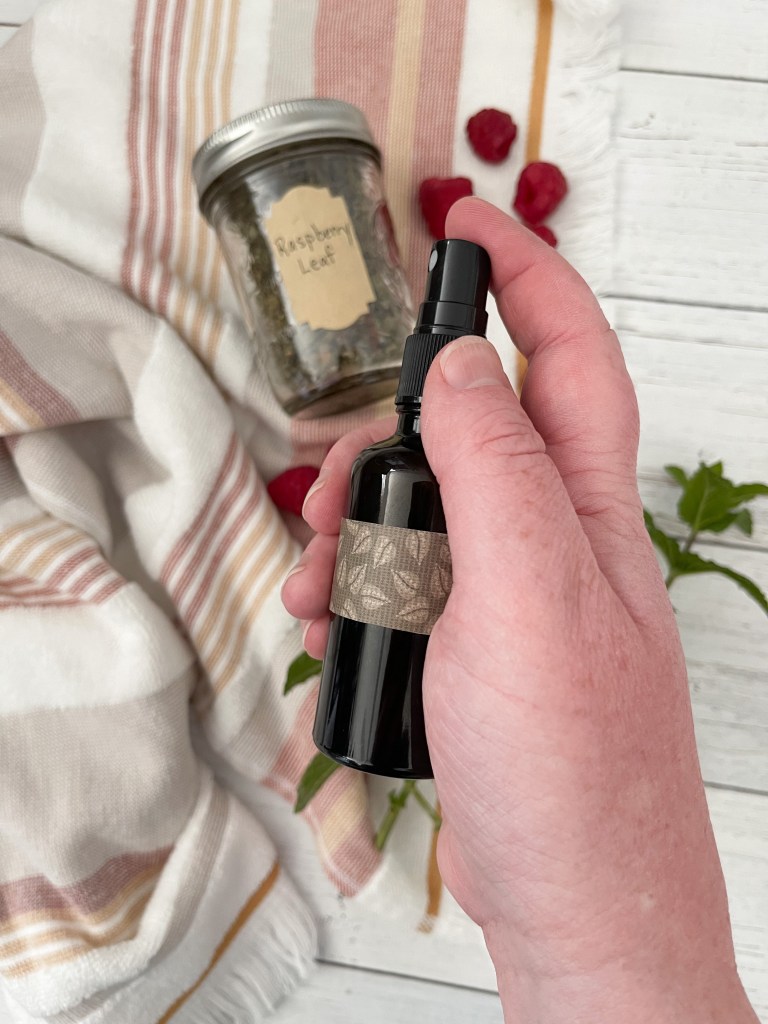
In these dog days of summer, your skin can easily become overheated and stressed out! That’s where raspberry leaf comes in. Raspberry leaf is well known for its tissue tightening and toning properties, and in a gentle face mist, this action can help to prevent moisture loss and provide soothing.
This recipe isn’t for a witch hazel or alcohol based toner—I didn’t want it to be that strongly astringent. So, instead, I’ve made a strong tea with the raspberry leaf and combined that with a cooling mint hydrosol—which you can easily make on your stovetop with some fresh mint, or you can purchase ready-made mint (or rose, lavender, or chamomile) hydrosol if you prefer.
Because this is an entirely water-based recipe, it has a shorter shelf life so you’ll want to make it in small batches and store it in the fridge. But it’s totally worth it for a very gentle, refreshing, soothing summer face mist that even the kids can use after a sweaty day of playing out in the hot sun! (It makes a great after-sun spray, too!)
This recipe comes in two parts: the mint hydrosol recipe and the raspberry tea / face mist recipe. Let’s start with the mint hydrosol!
Mint Hydrosol
Materials: Large stock pot with lid Small heat-safe bowl (ceramic or glass) Heat-safe glass measuring cup Distilled water Fresh mint leaves Ice
Method: Place the heat-safe bowl upside down in the stock pot and fill the bottom of the pot with enough water that it covers the bowl. Place the glass measuring cup right-side up on top of the bowl. Place a good amount of mint leaves in the water around the bowl—a couple big handfuls of plant material. Place the pot lid upside-down on the pot and place ice cubes on top. Simmer on medium heat until a sufficient amount of steam has condensed and dripped into the measuring cup—that’s your hydrosol! Store this in the fridge.
Raspberry Leaf Facial Mist
Materials: 3 tablespoons dried raspberry leaf Large tea mug Plate to cover the mug with Distilled water Tea kettle Strainer Glass bowl or measuring cup Small misting bottle (4-8 oz)
Method: Place raspberry leaf in the tea mug and cover with water freshly boiled in a tea kettle; cover with plate and allow to steep for 10-15 minutes. Strain into a glass bowl or measuring cup and allow to cool or refrigerate.
Fill the misting bottle half full with mint hydrosol and half with raspberry leaf tea. Cap tightly and shake well to mix. Store in the fridge to prolong its shelf life and so it’s nice and cool when you’re ready to mist your face!