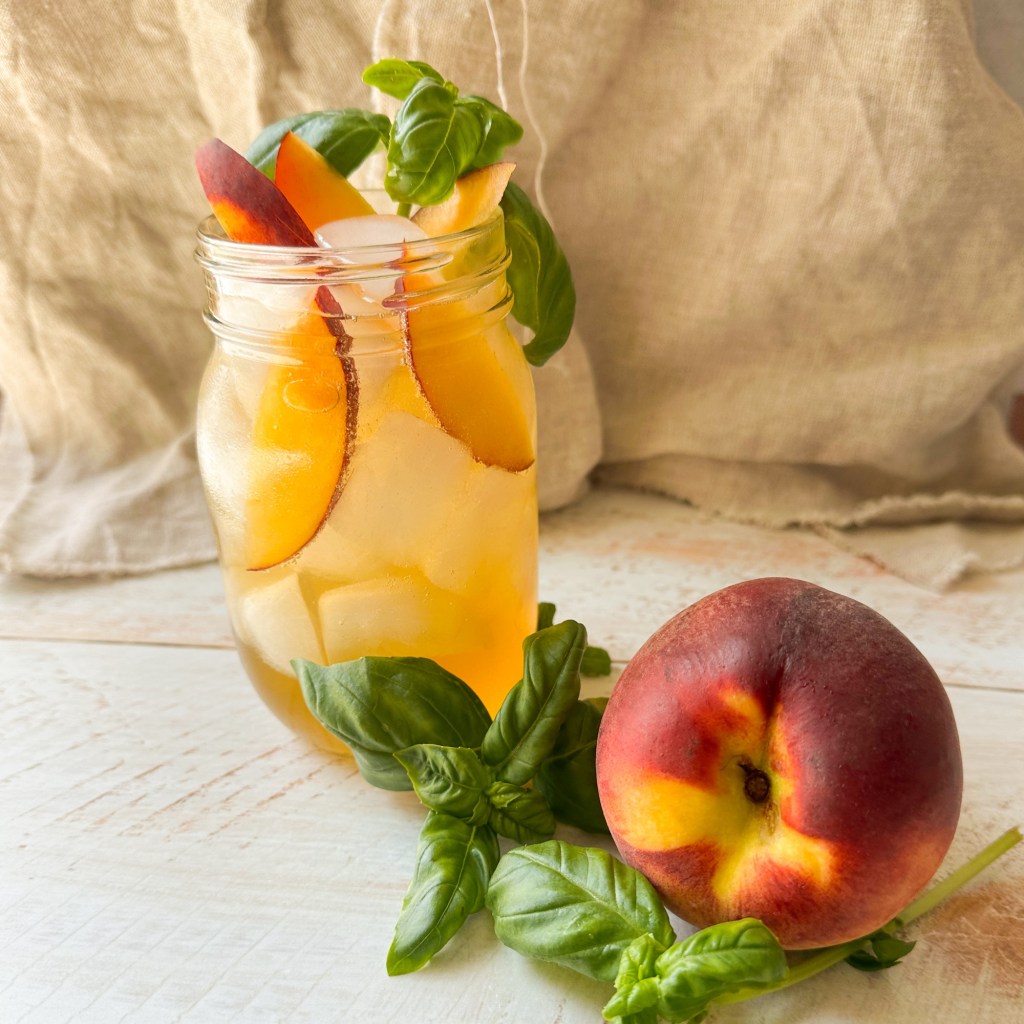
Whether your preference is a cocktail or a mocktail, the combination of basil, peach, and ginger makes a refreshing summer sip! I made my version muddling fresh peaches and basil with cane sugar, adding a splash of honey whiskey, and mixing in a squeeze of lime juice and peach juice before topping with my favorite ginger ale. But you could put your own spin on this drink in so many ways!
Here is the recipe I used:
Ingredients:
3 peaches, pitted and sliced
3-4 sprigs fresh basil
2 tsp cane sugar
Splash lime juice
4 oz peach juice / nectar
3 oz whiskey or vodka
Ginger ale to top
Ice
Directions:
In a mason jar or cocktail shaker, use the handle of a wooden spoon to muddle slices from 2 of the peaches and the sugar. Add most of the basil (reserving some for garnish) and muddle a bit more, but more gently.
Add your liquor of choice, a splash of lime juice, and the peach juice and ice, replace lid or top of shaker tightly, and shake well for several minutes.
Prepare two glasses with ice and slices of the remaining peach. Strain the liquid into both glasses evenly, and top with ginger ale. Garnish with basil.
Notes:
Alternatively, you could make this a non-smash cocktail by making a basil simple syrup instead.
Instead of ginger ale, mix with white wine or Prosecco.
To make it a mocktail, replace the alcohol with kombucha, soda water, lemonade, or even black tea! Anyone can enjoy the basil-peach smash element of this drink!
Butterfly Pea Flower is just so very magical! It is astounding how brilliantly blue the flowers can so easily turn the water in a cup of tea. It feels like a bit of faerie magic, for sure!
When I was doing some research for the faerie + plant folklore book I am writing (!!), I came across a type of Eastern European faerie called Er Tütra, which means Morning Mist: the name for a type of weather spirit/faerie. These Morning Mist folk are only visible to human eyes in the form of their namesake natural phenomenon, but they are hard at work to promote the health and growth of crops—an invaluable service to the fauna and humans of the land.
I made the connection between butterfly pea flower and these Morning Mist faeries because of the folklore surrounding this lovely plant. There are strong ties between butterfly pea flower in Southeast Asian cultures and motherhood and divine feminine symbolism, with a distinct focus on protection and mothering. The Er Tütra certainly perform this caretaking role for the land and crops. What’s more, there are very interesting studies on the use of butterfly pea flower in natural insecticides for crops! Yet another cool connection.
Here is the recipe for the Butterfly Pea Faerie tea! Embody the springtime Morning Mist with this tea blend and perhaps offer some to the Er Tütra for their aid in your spring garden.
To make a single cup of tea, add 1 tablespoon to a tea strainer, eco- friendly tea bag, or French press. Pour 1 to 1 1⁄2 cups hot water over the tea and steep for 3-4 minutes. Add honey or your preferred sweetener to taste, if desired.
To cold-brew this tea blend, add the ingredients to a glass jar or French press, steep overnight in the refrigerator, strain, and serve.
This recipe was shared as a part of Butterfly Pea Flower month at the Plant Wonder Collective! If you’d like to support the work of PWC, please consider joining our Study Circle on Patreon for exclusive recipes, articles, digital downloads and printables for the plant of the month, including this graphic available for print as an apothecary jar sticker. We appreciate you being on this learning journey with us!
For educational purposes only. Not intended for medical advice. Always consult your physician.
*This post contains affiliate links, which means if you choose to buy something from a link that I share, I will make a small percentage of the sale *at no extra cost to you*.
There is, in my opinion, no better way to celebrate the turning of the season (or just anything!) than with warm, freshly baked bread. You just can’t help but be mindful for a moment as you stop and appreciate the ingredients that went into the bread, the hands that made it, and the warming and grounding experience of enjoying it. That is some simple but powerful alchemy, right there.
This year for Ostara (the spring equinox) I decided to make an easy, rustic loaf of soda bread with some cheery, sweet, springy flavors. I incorporated orange zest and juice and vanilla, because the two together just put me in mind of sunshine and the sweet scent of early spring flowers.
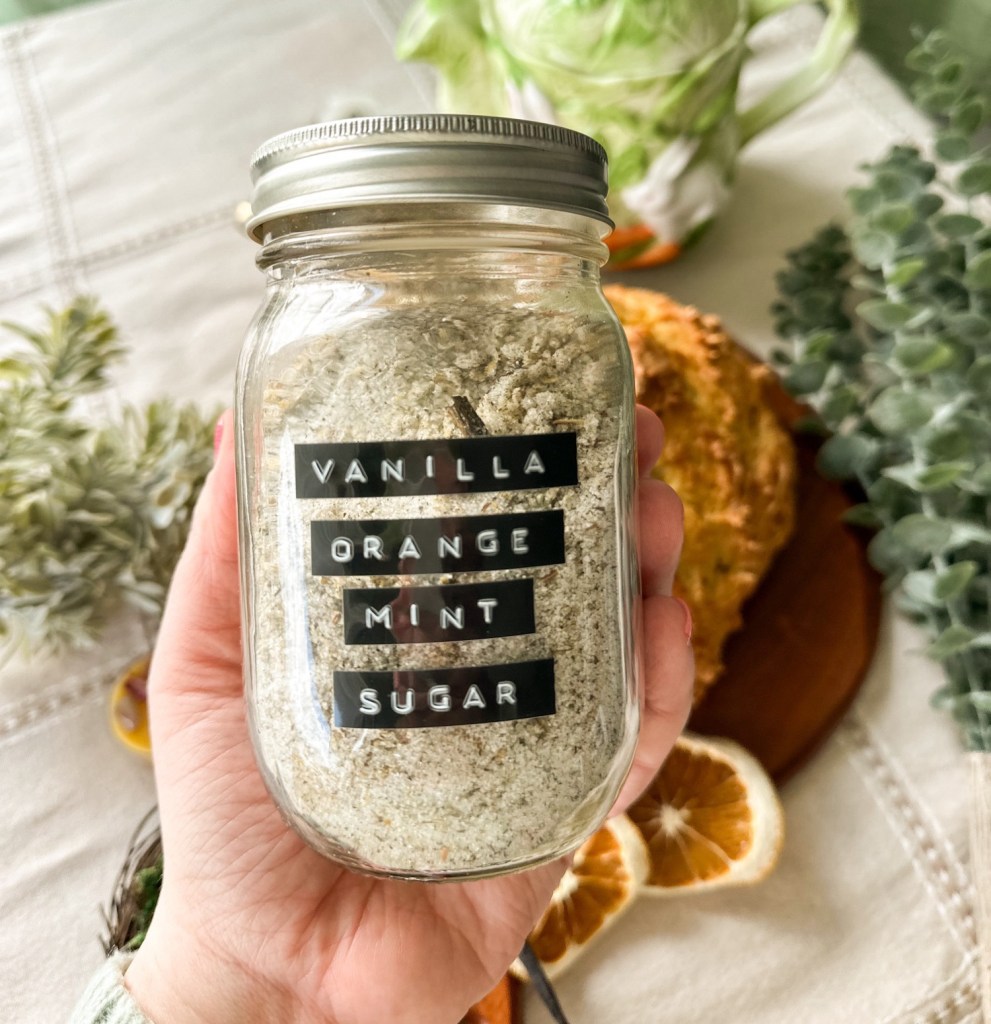
I also sweetened up this traditionally sugarless recipe with a generous helping of the vanilla-orange-mint infused sugar I made awhile back. You could easily use plain sugar, of course, but I had this on hand and it further drives that flavor home and adds a little something extra.
My family loves snacking on this bread, and it is really nice at breakfast time, too. I like to think it’s a very hobbit-ish sort of treat to celebrate spring with!
The recipe for Orange Vanilla Soda Bread:
Ingredients
4 cups flour (all white flour, part whole wheat, or you could also try your preferred GF flour)
In a deep mixing bowl, mix together flour, baking soda, salt, and sugar with a whisk. Whisk in orange zest.
Make a well in the dry ingredients and add the wet ingredients to it. Mix together with a wooden spoon, folding and turning the bowl until a sticky dough forms. If the dough seems too dry, you can add additional buttermilk a spoonful at a time.
Scoop ball of dough out onto a large floured cutting board. Knead a few times lightly. It will still be quite sticky, but you can flour your hands and add a pinch or two of flour if it seems too wet.
Form into a large round loaf. Place in a greased / oiled Dutch oven or on parchment paper on a baking sheet. Cut an X into the top with a sharp knife. Top with a small pat of butter on each of the four quadrants if you’d like.
Cover with the Dutch oven’s lid or tent with foil and bake for 30 minutes. Remove cover and bake for an additional 15 minutes. Bread is done when a toothpick comes out clean and/or the X in the center appears done (my X disappeared 😅 but that’s ok). It should also sound hollow if you tap it!
Allow to cool for 10-15 minutes before eating. Then, enjoy!
I love making infused sugars! Here is the recipe for Orange Mint Vanilla Sugar:
Mix the white sugar, the fresh zest of one orange, ground dried peppermint (pulsed to a powder in a coffee grinder reserved for herbs), and one vanilla bean (split and scraped, then the whole bean tossed in) in a bowl. Then spread it out to dry a while on a cookie sheet before transferring the mixture (including the vanilla bean) to a jar. The vanilla bean will continue to impart its sweet flavor in the sugar and it will only get better!
Let the jar sit tightly lidded for a few days to infuse with all the lovely orange oil and vanilla. Then you can use the sugar in teas, coffee (have you ever tried the combo of orange and coffee?), baked goods (imagine rolling sugar cookies in this!), fancy cocktail / mocktail rims, and more!
How do you plan on celebrating the start of spring, in your own way, big or small?
For educational purposes only. Not intended for medical advice. Always consult your physician.
*This post contains affiliate links, which means if you choose to buy something from a link that I share, I will make a small percentage of the sale *at no extra cost to you*.
When I first became interested in herbalism, my dad surprised me by gifting me all of my great grandmother’s herbalism and gardening books. By chance, or most likely not, I had wandered into a family legacy. My dad then regaled me with stories of some of her practices, like how she used to brew sassafras tea and root beer, made dandelion fritters, and added chicory and dandelion root to the coffee she brewed every day.
It is actually a long-standing tradition to add roots like dandelion, chicory, and burdock to coffee to add nutritional benefits and cut some of the bitterness. Beyond those roots, you can get creative with sweet and aromatic spices if you’d like to add more complex flavors. It’s really a very hygge—simple and intentionally cozy—process to develop your own personal mix and roast the ingredients yourself.
I love that I am carrying on my great grandma’s legacy. Many times when I make coffee, I also mix in roasted roots like she used to cut her coffee with. Herbs like dandelion, chicory, and burdock are nutritious and grounding, and help lessen the overall caffeine in your mug. They taste quite similar to coffee, though perhaps more complex and earthy, and you can put your own spin on your recipe with the addition of other flavorful botanicals.
Here is a closer look at some of the ingredients you might add to your own roasted root blend:
Roast equal parts of chosen roots on a baking sheet at 375° for 20 minutes, stirring once or twice to prevent burning. Allow to cool.
Mix in any spices or additional ingredients like cacao nibs and cinnamon chips, then grind in a coffee grinder and brew as you normally brew coffee. Opt for a coarser grind if brewing with a French press.
Adapted from my Roasted Roots article from the Autumn 2022 edition of Botanical Anthology.
For educational purposes only. Not intended for medical advice. Always consult your physician.
*This post contains affiliate links, which means if you choose to buy something from a link that I share, I will make a small percentage of the sale *at no extra cost to you*.
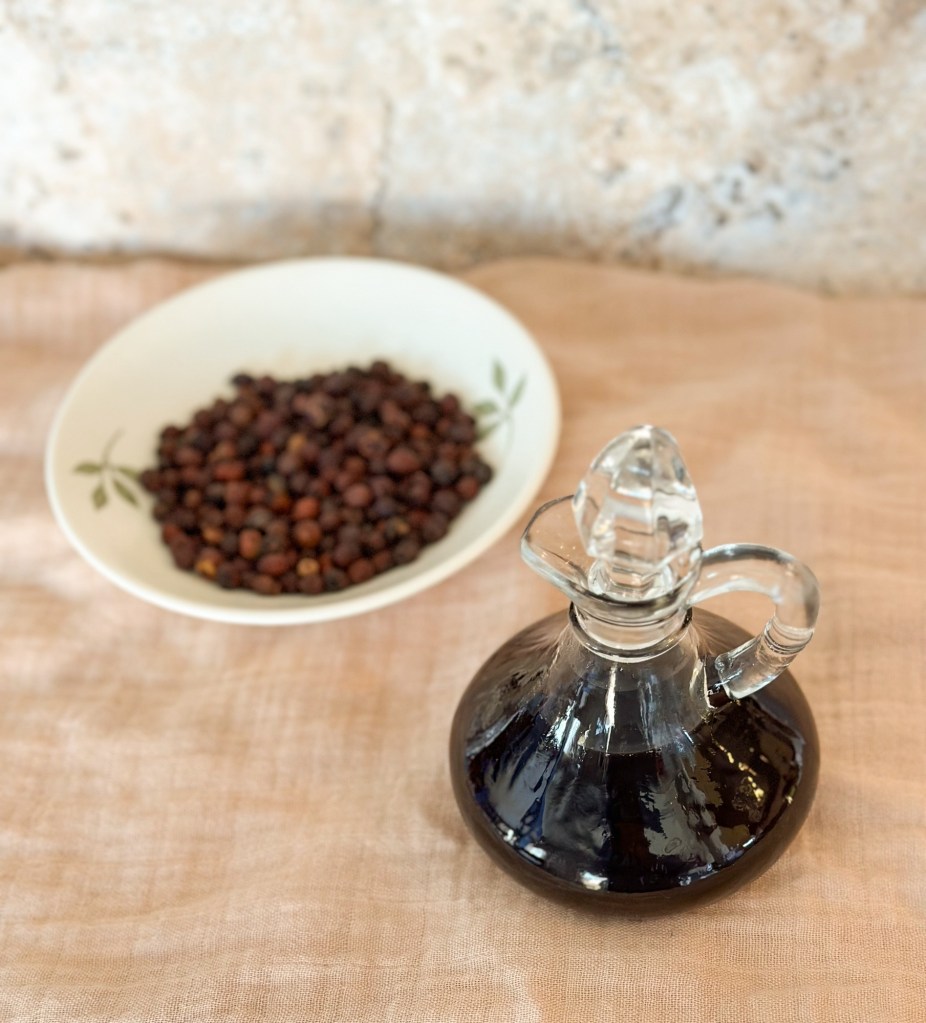
Hawthorn syrup is an amazing and delicious late-winter herbal medicine! Not only does it support circulation, blood pressure, overall heart health, digestion, and the immune system; it also helps dispel some of those late-winter blues with its sweet nervine powers. But it doesn’t need to be reserved for this time of year—it is a gentle tonic herb that can in most cases be safely taken frequently, year-round.
Whether you take a couple spoonfuls a day, mix it into water or tea, or use it as a mocktail or cocktail ingredient (who says medicine can’t be fun?!), hawthorn syrup will bolster your body as well as your emotional wellbeing. And the flavor is so, so nice—from dried berries it produces a tangy, slightly earthy berry flavor. Reminds me a little of fig, or port wine.
All you need is three ingredients to make this syrup. Here is the recipe!
In a saucepan, heat water and sugar over low-medium heat until the sugar dissolves completely, stirring often with a wooden spoon.
Add the hawthorn berries and allow to come to a light simmer, stirring often. Continue to simmer and stir for about 10 minutes. (We are being careful to keep this a syrup and not a caramel!)
Remove from heat and allow the hawthorn berries to steep in the syrup for another 20-30 minutes as it cools. Strain through a mesh strainer, and store in a clean jar or bottle in the fridge. Use within about 3-4 weeks.
Instead of discarding all the used syrup berries, brew a cup of tea with some of them!
A note about dried hawthorn berries: if you see a white substance on the outside of them, this is not mold and they’re not bad! It is the natural sugar in the berries that sort of collected on the surface as they dried.
Hawthorn is the Plant Wonder Collective plant of the month!
Plant Wonder Collective: Connecting you to nature through food, drink, play, garden, medicine, magic, and art.
If you’d like to support the work of PWC, please consider joining our Study Circle on Patreon for exclusive recipes, articles, digital downloads and printables for the plant of the month. We appreciate you being on this learning journey with us!
For educational purposes only. Not intended for medical advice. Always consult your physician.
*This post contains affiliate links, which means if you choose to buy something from a link that I share, I will make a small percentage of the sale *at no extra cost to you*.
A few friends close in heart but far geographically exchanged holiday gifts recently. It was so much fun to send homemade gifts to each other! Some were gifts that we had made to give to friends and family for the holiday season, but I wanted to include something that made me think of them specifically.
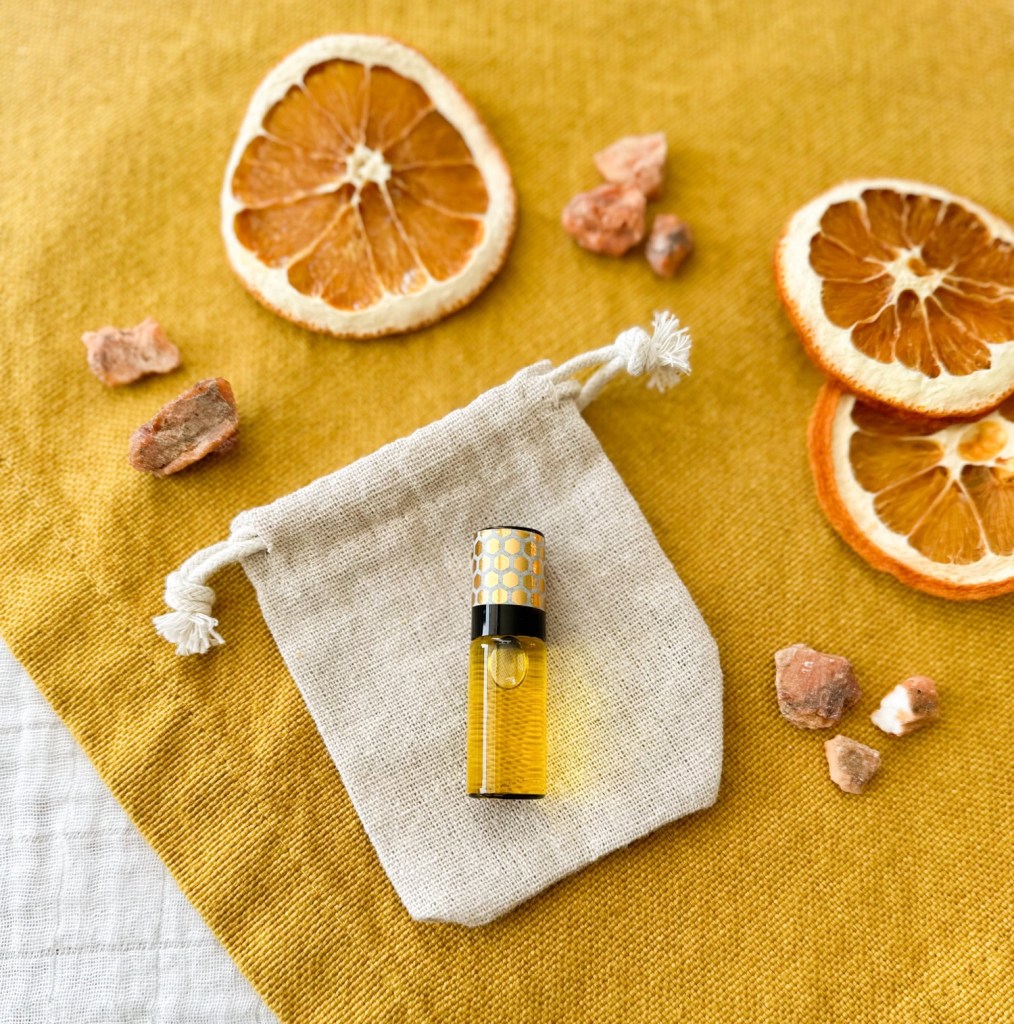
So I created us each a Happy Vibes essential oil perfume / aromatherapy roller to convey the joy I get from our friendship!
The scent is very reminiscent of orange blossom: floral, sweet, creamy and citrusy, with a touch of green. Uplifting and happy! Just like our friendships. The intention infused in the making of these rollers conveys that joy each time I apply a bit to my wrists and experience the scent!
Would you like to make some of your own rollers for friends who make you feel happy vibes?
To make a perfume roller, fill a 5 ml roller bottle about halfway with jojoba oil. Add 4 drops of ylang ylang essential oil, 3 drops of benzoin essential oil, 2 drops of tangerine essential oil, and 2 drops of cypress essential oil. (If you have sensitive skin, you can adjust and use less of the essential oils. If you want a stronger scent for aromatherapy, you can add 1-2 more drops of each oil.) Fill the remaining space in the bottle with more of the jojoba oil, leaving a little headspace for the roller. Insert the roller and screw on the cap, giving the bottle a swirl to mix the oils in.
——
*This post contains affiliate links, which means if you choose to buy something from a link that I share, I will make a small percentage of the sale *at no extra cost to you*.
Turmeric has so many health benefits—for mind, body, and spirit. As for the body, it has properties that support the immune system, modulate inflammation and pain, support the liver, and so much more. Regarding mind and spirit, turmeric has a warming, cozy, grounding taste and strengthening energy.
One very versatile way to work with turmeric is in tincture form. Turmeric tincture is easy to make and so beneficial! It only requires two ingredients, a couple simple supplies, and 6 weeks of waiting for it to infuse its goodness.
And did you know you can use it internally and externally? Internally, putting a few drops up to a dropperful in a couple ounces of water, a small mug of tea, or a shot glass of orange juice (my favorite) to drink can deliver those wonderful aforementioned benefits—like immune support, pain, inflammation, digestion, and more.
Externally, try mixing a few drops with your favorite body oil (like calendula olive oil) or moisturizer and massage into skin for cramps, aches, and even arthritis.
Here is what you need to know for making a simple turmeric tincture!
Start with a sanitized, dry jar. Fill the jar 1/2 full with the dried turmeric root pieces.
Top with vodka / alcohol, covering the plant material with about an inch of liquid. Poke the hops down with a wooden chopstick or the handle of a wooden spoon to ensure complete coverage and add more vodka if needed.
Cap tightly and label with the date and name of the tincture. Store in a cool, dark place, shaking daily. Allow to macerate for 6-8 weeks.
Strain with a fine mesh strainer and/or cheesecloth, and store in a clean jar or bottles in a dark place. Add to a dropper bottle for dosing.
Use a few drops to one dropperful internally up to 3 times a day, or combine a dropperful with about ¼ cup body oil for external use.
Turmeric is the Plant Wonder Collective plant of the month!
Plant Wonder Collective: Connecting you to nature through food, drink, play, garden, medicine, magic, and art.
If you’d like to support the work of PWC, please consider joining our Study Circle on Patreon for exclusive recipes, articles, digital downloads and printables for the plant of the month. We appreciate you being on this learning journey with us!
For educational purposes only. Not intended for medical advice. Always consult your physician.
*This post contains affiliate links, which means if you choose to buy something from a link that I share, I will make a small percentage of the sale *at no extra cost to you*.
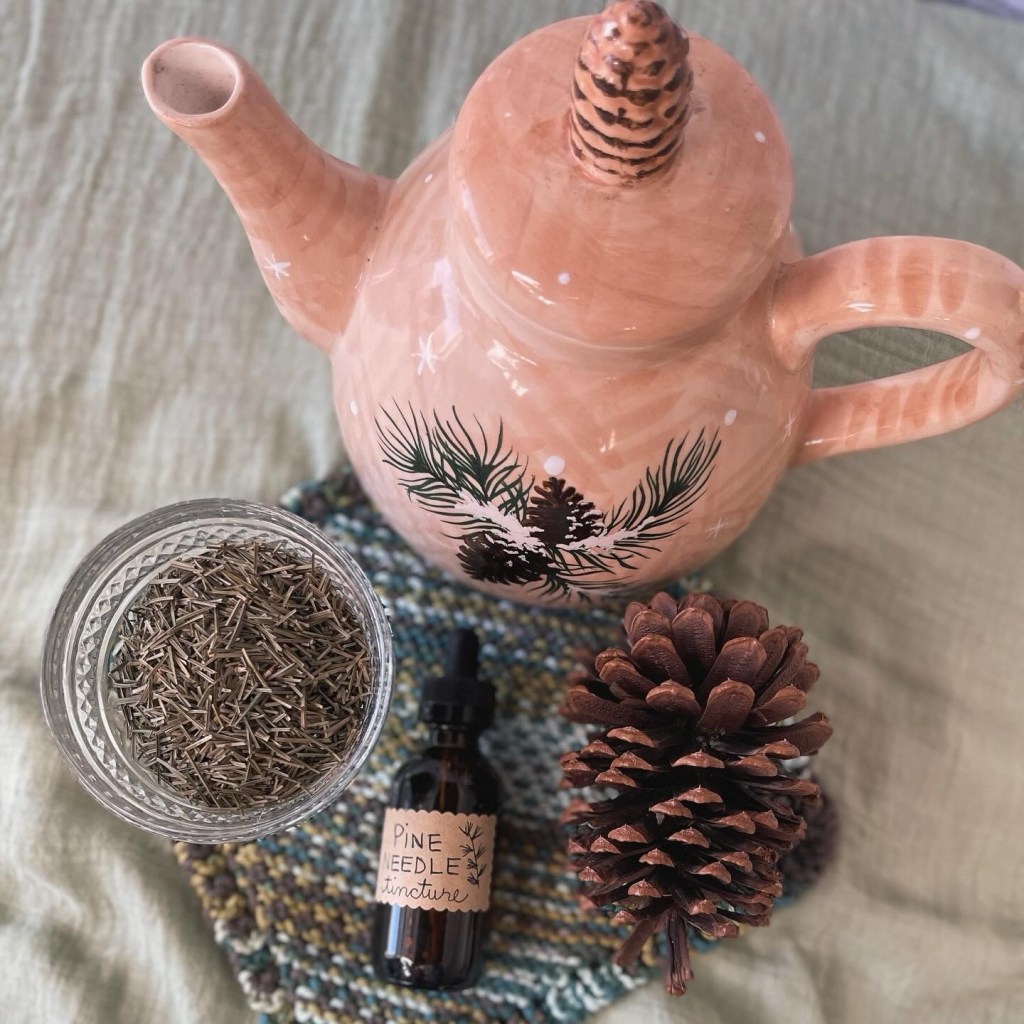
A tincture is a simple and powerful way to experience an herb’s benefits and energies. I’ve brewed up a batch of pine needle tincture to enjoy the taste and effects this winter season!
Pine has so many benefits to body and mind. Medicinally, it can help aid the immune system with its high vitamin C content and antimicrobial qualities, it can help with pain and inflammation, and it can offer relief to colds and coughs. Energetically, pine is said to encourage peace, harmony, wisdom, intuition, grounding, and courage.
Here is the simple recipe for making your own pine tincture!
To make a pine tincture, fill a clean glass jar about ¾ full with dried pine needles (make sure you’ve sourced from a safe-to-consume species!) and top with high-proof alcohol such as vodka, filling to about an inch over the plant material. Stir with a wooden spoon or chopstick, and cap tightly with a bpa-free plastic lid. Store in a cool, dark place and shake daily for about 4-6 weeks. Strain and rebottle in a clean jar / dropper jars.
This can be taken medicinally by drops or dropperful in water or under the tongue…but it can also be enjoyed by the dropperful as an addition to tea or juice—or even used as fancy bitters in cocktails and mocktails! (I am envisioning it as a very cool wintry addition to an Irish whisky with gin & lime!) You can also mix a bit with a carrier oil and use it externally for minor pains and inflammation.
For educational purposes only. Not intended for medical advice. Always consult your physician.
*This post contains affiliate links, which means if you choose to buy something from a link that I share, I will make a small percentage of the sale *at no extra cost to you*.
This article appears in the Winter 2022 edition of Botanical Anthology. You can purchase a digital copy HERE or a print copy HERE.
Along with the joys winter brings, it unfortunately also carries increased risk of illness in its wake. Between extra time spent indoors during colder weather and the season’s gatherings and festivities, exposure to many types of illnesses sees a dramatic uptick. To that end, immune support becomes a constant refrain.
Herbal allies can be indispensable when it comes to this winter barrage of germs. But what does “herbal immune boosting” mean? It is a many-pronged approach to keeping your body functioning optimally so that you might avoid some illnesses altogether, or at least lessen their severity. Different types of herbs work together synergistically to aid with this never-ending task.
Adaptogens Fatigue, burnout, and chronic stress are common problems that weaken the immune system and its ability to fend off illness. Adaptogenic herbs help restore balance and protect the body’s systems and processes to counter these effects, the immune system being an important beneficiary. Tulsi, astragalus, reishi and chaga mushrooms and licorice root are just a few examples of adaptogens.
Nervines Stress and insomnia deplete the body and create the perfect breeding ground for germs. Luckily, nervine herbs help combat both of these issues, and many are gentle and safe for everyday use for most individuals. As an added bonus, some nervines have antimicrobial properties, too. Gentle nervine herbs include chamomile, lavender, lemon balm, tulsi, rosemary, linden, hawthorn, and passionflower.
Diaphoretics Diaphoretic herbs are warming and promote circulation. Once sick, these herbs go on to help sweat out a fever and offer respiratory relief. These include yarrow, elderflower and berry, chamomile, ginger, catnip, cayenne, garlic, and linden.
Aromatics Aromatic herbs don’t just taste great—they provide important immune boosting actions, too. Most aid digestion, while also offering strong antimicrobial support. These germ-killers include ginger, cardamom, cinnamon, cloves, anise, allspice, rosemary, and fennel.
Antioxidants Antioxidants like vitamin C aid immunity by supporting and stimulating antimicrobial actions on a cellular level as well as protecting body tissues from damage. Antioxidant herbs that provide much-needed immune boosting include rooibos, rose hips, hibiscus, elderberry, orange peel, and raspberry leaves.
Alteratives Alterative herbs aid in detoxifying your body by supporting the organs and systems that handle this important task. You need your liver, kidneys, and lymphatic system in tip-top shape to fight off illness! This category of herbs includes echinacea, calendula, dandelion root, burdock root, and nettles.
There are countless combinations one can work with to create an immune-boosting herbal recipe. To make things a little less daunting, here is a simple tea as a starting point. It features elderberry, a tried-and- true immunity aid, but also rooibos, an oft-overlooked antioxidant powerhouse. There is a bit here from each of the above categories, and plenty to tempt the taste buds, as well.
Blend this combination of herbs as the recipe states, or use it as a jumping-off point to inspire your own immune supporting formulation!
Method Mix all ingredients except orange in a bowl. Transfer to an airtight container.
To make a single cup of tea, add 1 tablespoon to a tea strainer, eco-friendly tea bag, or French press. Pour about 1 1⁄2 cups hot water over the tea and steep for 5 to 10 minutes. Add fresh orange zest or orange slice and honey to taste, if desired.
Notes This recipe yields approximately 10 servings of tea. If making a small batch, measure the parts in teaspoons—it should yield about 2 servings of tea.
For educational purposes only. Not intended for medical advice. Always consult your physician.
*This post contains affiliate links, which means if you choose to buy something from a link that I share, I will make a small percentage of the sale *at no extra cost to you*.
DIY botanical hand soap is incredibly simple to make and can bring lovely, refreshing scent, moisturizing properties, and natural ingredients to the sinks in your home. It also makes a nice house-warming or holiday gift!
It is something extra special to concoct your own personalized soap from some of your favorite natural ingredients. You can capture the season, cozy vibes, and your favorite scents all in something you use many times a day! And the process of very easy and fun! My eight-year-old daughter especially enjoys creating this hand soap with me.
Simply combine castile soap, water, herb-infused oil (such as coconut, jojoba, sweet almond, or olive oil), and essential oils (these are optional but help add a stronger scent). You can also add ingredients like vegetable glycerine and/or aloe vera for extra moisturization, and vitamin E oil to extend the shelf life.
For this particular batch of hand soap, I invoked an autumnal energy by including rose-infused jojoba oil, orange essential oil, frankincense essential oil, cinnamon sticks, star anise, dried orange, and a few cloves. The dried botanicals and spices are added for accent and visual appeal, and they are hard enough so they won’t break down too much in the soap mixture to interfere with the soap. If you’d like, envision a warming and cozy intention while adding these to this soap your family and friends will use in your home.
Starting with a clean jar, add 1 cup water. Add 1/2 cup castille soap and all other ingredients. Replace lid and carefully swirl vigorously to mix. If the jar looks too empty, top up with a bit more water and castille soap.
The mixture will be a bit foamy at the top, and will be thin but luxuriously moisturizing for the skin.
Note: you may need to give it a swirl once in a while as the ingredients can separate while it sits and settles. Also, if very young children or anyone with skin sensitivities will be using the soap, you can omit the essential oils.
Would you make DIY hand soap? Which ingredients or scents would you use in yours?
For educational purposes only. Not intended for medical advice. Always consult your physician.
*This post contains affiliate links, which means if you choose to buy something from a link that I share, I will make a small percentage of the sale *at no extra cost to you*.